A Transcription of Haengma 3
421 views
August 16, 2026
Even though I typically say the Nihon Kiin's Tesuji Encyclopedia was the book with the most impact on me during my one-year stay in Asia between 2025 and 2026, the Haengma series is definitely a close second.
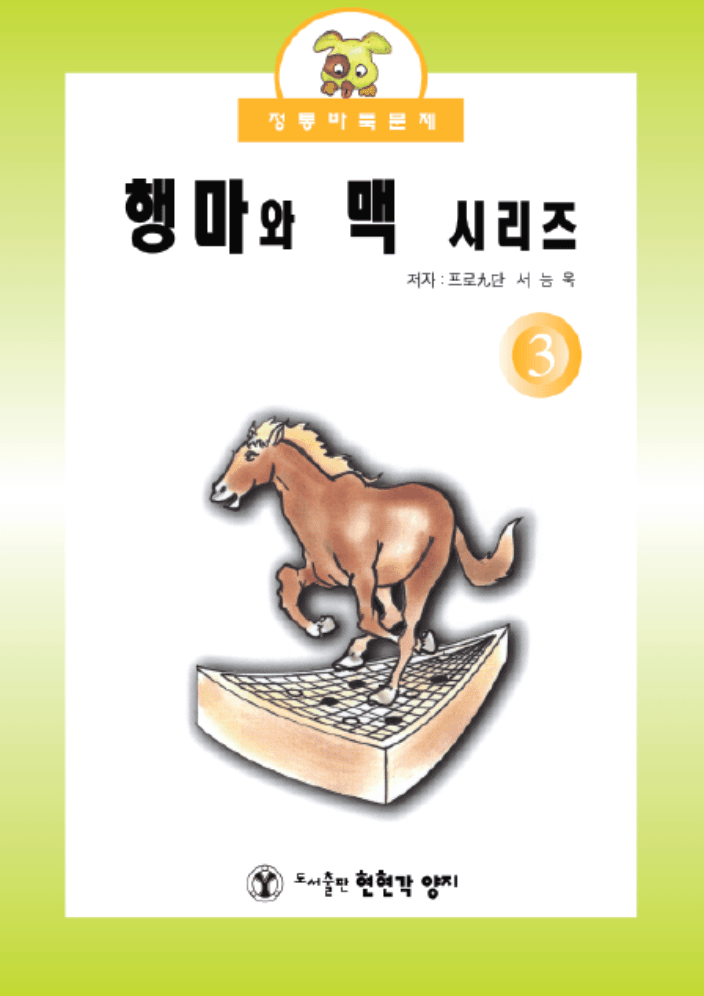
Haengma 행마 3, from Joy School.
Haengma 행마 is the Korean equivalent to suji 筋 in Japanese, and is usually translated as "flow". The precise definition behind that cryptic term is condemned to be an eternal debate, with even experienced Korean pros and teachers who wrote books on the topic not agreeing on what it means.
A dear friend of mine from Romania, Petru Oancea 4d EGF, centered his masters thesis — for the Department of Baduk Studies at Myongji University — around the idea that haengma might be analogous to Nicholas Nassim Taleb's concept of antifragility, which describes things that gain or learn from adversity, improving from challenges.
And indeed, correct haengma or flow does have a "counter" feeling. When attacked by the opponent, with proper haengma, our group becomes more resilient, and the opposing poke is rendered as a loss. On the other hand, when we attack with proper haengma, our opponent's shape, if not defended correctly, feels as if it collapses by itself.
One of the best examples of that dynamic is the first exercise in the Haengma 3 book:
Should you connect at A?
Typically, we should strive for something better than simply connecting at A and accepting the ensuing empty triangle.
That position could be a result of a joseki, and most positions in the Haengma series come from realistic scenarios:
A joseki originating the same position.
White only tries to cut because of the tiger's mouth. Otherwise, Black can simply capture the cutting stone, instead of seemingly playing at A in dia. 3.
How the tiger's mouth changes things.
Counter-ataring here is the correct solution. Black's shape might look too fragile, but it is actually much more resilient than it seems. The key move to remember is Black 3 in dia. 4.
Black 3 locks White in.
If White tries to cut Black, the end result is a clean Black wall on the outside, and damage to the outside stone at A:
White fails to cut, while weakening the A stone.
From dia. 5, White doesn't accomplish much, and Black can choose how to reinforce the outside, from B to E — D is best in this case.
Interestingly, though, at the beginning of the game especially, AI isn't in favor of that stylish a sequence, preferring the empty triangle connection:
AI prefers the empty triangle.
In Korea, the Haengma series is not only an exercise book. It's used as a way to inspect and develop the student's techniques. At Flower Baduk, for example, students debate answers with their pro teachers.
AI doesn't evaluate this specific technique to be worth it for this joseki context though, but it's still a useful haengma. If Black tried the counter-atari, AI would be satisfied with the dumpling in dia. 7, considering the whole sequence a 2-point loss for Black, probably because the A stone is then hanging.
AI is satisfied with poking a little bit, despite the dumpling shape.
If Black tries something more ambitious, it leaves White with no choice but to escalate the fight:
White escalates the fight.
Much like other workbook series, the Haengma books don't come with answers. You could buy the answer book separately, but the idea is to have the student think past just the answer, discussing the many possibilities and implications of different moves. And, as we've seen with AI's sequence for the first problem, new, updated answers to these problems are popping up everyday.
Haengma 3 in PDF
Joy School's Haengma 3 might be the best volume in the series, with most students experiencing a sharp increase in their Go skills after finishing it. I will eventually transcribe Haengma 4 and the other volumes — I wish there were more than 4 volumes! Haengma 4 goes up to Fox 7d only, skill-wise —, but here's Haengma 3 in PDF, with vector diagrams. The open source code used to generate this book can be inspected here: @psygo/tsumego_workbooks.
If you like workbooks, I suggest the 101books project, which extracted problems from the 101weiqi website, and programmatically turned them into books.
Comments
You need to sign in to comment.
No comments yet.